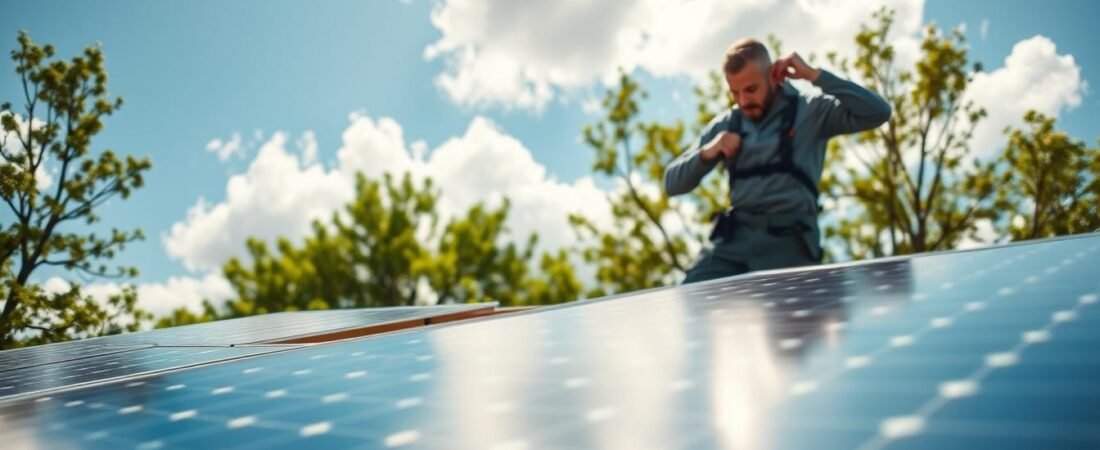
Quick, friendly steps to keep your birdfy feeder powered without fuss. This guide explains how the panel tops up a charged battery rather than acting as the main charger for a drained unit.
For dual-camera models like the Feeder 2 Duo, we recommend a 5W or 8W panel so your device keeps steady power during long days and busy seasons.
Start by gathering the mounting arm, bracket, and hardware. The arm is the main mounting support that holds the panel steady while you watch birds in your backyard.
Our official video tutorial page offers a clear visual walk-through to help you install solar equipment the right way. Follow the simple steps here and on that page to attach the arm, secure the bracket, and check power flow.
Result: a reliable feeder setup that keeps your camera active so you never miss a bird visit.
Preparing for Your Birdfy Solar Panel Installation
Before you mount anything, clear the feeder and lay out every part on a clean surface. A tidy area helps you spot missing pieces and keeps hungry birds away while you work.
Choosing the Right Wattage
Pick the right wattage for your usage. The 3W option suits a single camera or low-traffic feeder. The 5W unit charges about 60% faster than 3W and fits dual-camera setups.
The 8W model delivers roughly 1.6 times the power of the 5W choice. For the birdfy feeder duo, the 5W and 8W include a Y-branch connector for simultaneous charging.
Essential Tools and Components
Gather a wrench, screwdriver, and the mounting arm plus bracket. Confirm the arm fits your pole before the final mounting step.
- Remove old seed and clean the feeder first.
- Check compatibility with your birdfy products and this page for specs.
“A clean start and the correct wattage keep your feeder running longer.”
| Wattage | Best for | Charge Speed |
|---|---|---|
| 3W | Single camera feeder | Standard |
| 5W | Dual-camera models | ~60% faster |
| 8W | High-traffic setups | 1.6× of 5W |
Mounting the Solar Panel on a Pole
Begin by slipping the spacer ring onto one end of the mounting arm so the assembly sits level on the pole. This small part gives the mount a steady base and reduces tilt when the wind blows.
Wrap the hose clips around the mounting bracket next, then position the bracket on the pole. Tighten the clips until the bracket sits firm and does not rotate.
Screw the mounting arm into the bracket to form a strong backbone for the feeder. After that, place the nut on the other end of the arm and tighten it to lock the connection.
Final step: attach the panel to the mounted arm by screwing it in. This secures the unit to the birdfy feeder and completes the panel mounting on the pole.
“Secure clips and a snug nut make the difference between a stable mount and one that needs redoing.”
- Spacer ring on one end prevents wobble.
- Use hose clips around the bracket for a tight fit on the pole.
- Follow the page tutorial for correct arm screwing and bracket alignment.
Installing the Solar Panel on a Wall
Careful placement makes wall mounting quick and secure. Measure and mark two level points on the wall where the bracket will sit before you drill.
Drilling and Bracket Placement
Use an electric drill with a 15/64″ (6mm) bit to make two holes. Fit wall anchors if your surface needs them.
Drive screws into the holes, leaving the heads proud enough to hang the mounting bracket. Hang the bracket and confirm it sits level.
Put the spacer ring on one end of the mounting arm, then attach the arm to the bracket by screwing it in. Place the nut on the other end and tighten for a stable fit.
Final steps: attach the solar panel to the mounting arm by screwing it in, then connect the unit to your birdfy feeder or device. For wall mounts, hose clips around the bracket are not required.
- Drill two holes with a 15/64″ (6mm) bit for secure mounting.
- Spacer ring one end prepares the arm for panel mounting.
- Ensure mounting arm screwing and the nut are tightened properly.
“A level bracket and a snug nut keep the feed and power steady.”
Maintaining Your Solar Equipment for Peak Performance
A little care every few weeks keeps your feeder and power source at peak performance. Regular checks prevent small issues from cutting short a day of great footage.
Cleaning Techniques
For a deep clean, use mild detergent and water with a soft microfiber cloth. Wipe gently, then dry fully with a soft towel to avoid streaks.
Frequency of Maintenance
Clean panels when you see dust, pollen, or droppings. In dry or pollen-heavy areas, check more often—every 2–4 weeks works well.
Troubleshooting Power Issues
If your device has a dead battery, do not rely on the panel as the main charger. Fully charge the battery from a wall outlet first.
“The panel is meant to keep a charged battery topped up, not to revive a drained one.”
- Check mounting arm and mounting bracket regularly to ensure the unit stays secure.
- Confirm hose clips and bracket clips are tight to prevent wobble that reduces energy capture.
- For a Birdfy Feeder 2 Duo, verify the Y-branch connector is properly attached to the arm so both cameras get steady power.
| Task | Interval | Tools | Why it matters |
|---|---|---|---|
| Surface clean | Every 2–4 weeks | Microfiber cloth, mild detergent | Removes dust and bird droppings that lower output |
| Mount check | Monthly | Wrench, visual inspection | Prevents loosened bracket or arm that cuts sunlight |
| Battery check | As needed | Charger, multimeter | Ensure battery health; use wall power to revive dead batteries |
For more tips and replacement parts, visit our support and parts page.
Conclusion
Wrap up with a few simple checks to keep birds coming and cameras recording.
By following this guide, you can install the panel so your feeder stays powered through the season. Choose the correct wattage for your feeder duo to maximize camera performance.
Keep up regular maintenance: clean dust and old seed, tighten mounts, and check wiring. If you face power problems, fully charge the battery from a wall outlet before relying on the panel. Small habits will keep your setup reliable and your backyard lively.
Enjoy watching more visitors and capturing great footage with a well-kept, ready-to-go system from birdfy.