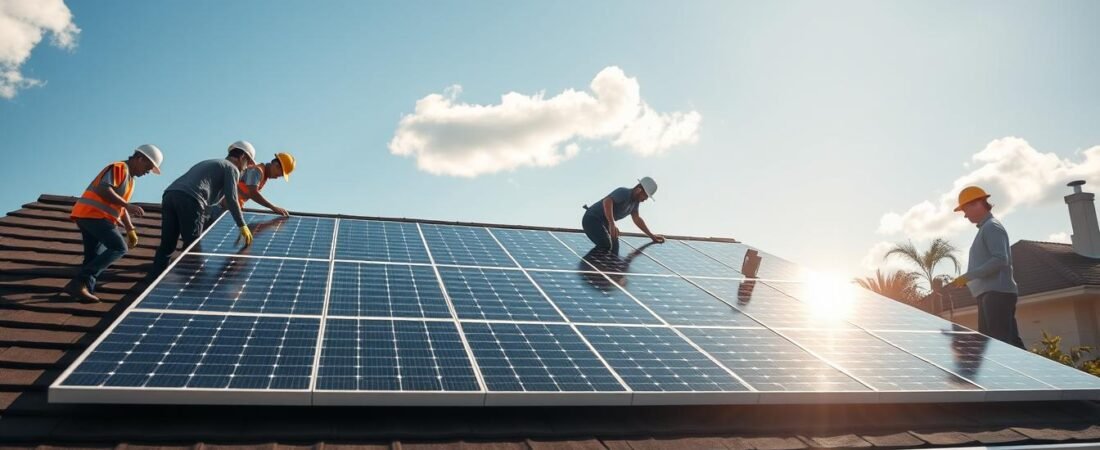
Start here if you want a clear, friendly path to bringing renewable power to your home.
In 2021, Lakisha Harris moved into a home in Accokeek, Maryland that already used home energy equipment from a Department of Energy program. That real example shows how practical and reachable this shift can be.
This guide lays out each essential step of the installation process. We cover planning, safety gear, roof care, wiring, and the inverter. You will learn what equipment and permits matter most.
Whether you hire pros or tackle parts yourself, this primer will help you avoid common pitfalls and meet local codes. It also explains the long-term benefits of clean energy and the path to energy independence.
For a deeper look at system basics and component choices, visit solar power 101 to learn about panels, inverters, and mounting options.
Understanding the Basics of Solar Energy
Residential photovoltaic technology now powers many U.S. rooftops with reliable, clean electricity.
Solar panels convert sunlight into direct current. The system then uses an inverter to turn that current into alternating current for your home.
These panels are the most common choice for homeowners. They fit many roof styles and often enhance curb appeal.
A professional installer can assess roof orientation, shade, and local climate to confirm your home’s fit for the system.
- Generates on-site power and lowers utility bills.
- Reduces carbon footprint and strengthens grid resilience.
- Important parts include panels, inverter, and mounting hardware.
| Part | Role | Why it matters |
|---|---|---|
| Panels | Capture sunlight | Core source of electricity for the home |
| Inverter | Convert DC to AC | Makes power usable for appliances |
| Installer | Site assessment & setup | Ensures safety, permits, and peak performance |
To learn more about system components and choices, see solar power 101.
Assessing Your Home for Solar Potential
Knowing your home’s typical electricity use is the first step. Add watts for each appliance and multiply by daily hours to estimate daily demand. This number tells you the system size and roughly the cost and savings.
Tip: A typical 6 kW residential system can yield about $10,500 in savings versus a turnkey purchase over its life. That helps when weighing upfront costs.
Energy Needs Calculation
Start with a simple audit. List devices, their wattage, and hours used. Sum those to find daily kilowatt-hours.
An installer can refine this and confirm the ideal system for your home energy profile.
Choosing the Best Location
Check the roof for shade, orientation, and tilt. South-facing, unshaded sections usually give the best sunlight and power.
Also plan wiring routes and inverter placement to cut energy losses and reduce work time.
“A professional assessment catches issues you might miss and ensures systems meet local utility rules.”
- Verify roof condition and safety equipment before climbing.
- Confirm local utility documentation needs for grid connection.
- Factor climate and roof tilt when estimating annual energy yield.
| Check | Why it matters | Action |
|---|---|---|
| Energy audit | Determines system size and savings | List appliance watts and daily use |
| Roof assessment | Impacts output and equipment siting | Inspect orientation, shade, and condition |
| Wiring & inverter | Affects efficiency and safety | Plan cable runs and inverter location |
| Utility requirements | Needed for grid approval | Gather usage records and permits |
Navigating Permits and Regulatory Requirements
Submitting accurate wiring diagrams and a complete site plan is essential to get your system certified to run.
Start with local rules: Obtain permits from your building department and check HOA covenants early. The Authority Having Jurisdiction (AHJ) must review plans before any work is activated.
Your utility will also inspect system drawings to confirm safety and grid interconnection standards. Expect reviews to take several weeks; plan the project timeline with your installer accordingly.
Pro tip: Many professional companies bundle permitting services. They prepare certification documents and coordinate with the utility to speed approval.
- Follow the National Electrical Code for wiring and grounding to pass final inspection.
- Document equipment specs and site layout to avoid delays.
- Confirm that safety measures meet local rules so your system can safely send power to the grid.
“By meeting regulatory requirements, you protect your home investment and ensure the system operates safely and legally.”
Essential Tools and Safety Equipment
Before you climb onto the roof, gather the right tools and safety gear to protect yourself and your investment.
Safety comes first: a certified harness and lanyard must be worn when working at height. Add a hard hat, safety glasses, work gloves, and slip-resistant shoes to reduce common risks.
Recommended Safety Gear
- Fall protection: full-body harness, lanyard, and anchor points.
- Head and eye protection: hard hat and safety glasses to guard against debris.
- Hands and footing: work gloves and slip-resistant safety shoes for secure handling.
- Fire and electrical safety: keep a fire extinguisher nearby when working with wiring and inverter connections.
Tools matter too. You’ll need a power drill, power saw, and a sturdy ladder for secure access. Use proper lifting techniques and a partner when handling heavy batteries or large panels.
“Professionals often use scaffolding and extra anchors to reduce risk and speed work.”
Final tip: verify that your tools match the system parts, including inverter and wiring. If you are unsure, consult a licensed installer to keep your home project safe and compliant.
How Solar Panel Installation Works
Most installs proceed at about two hours per panel, a useful rule for planning time and crew needs.
Begin by marking roof rafters so the racking has a sturdy anchor. Secure the racking to those rafters and confirm alignment before adding panels.
- Mounting: attach panels and set tilt to capture daily sunlight.
- Wiring: connect arrays so generated electricity flows safely to the inverter.
- Inverter: converts direct current into alternating current for your home.
- Final checks: torque hardware, test connections, and confirm grounding.
Safety tip: switch off household power before touching any wiring. Professional installers follow a strict seven-step process to ensure each part is secure and efficient.
“A careful sequence of measuring, fastening, and testing yields a reliable home energy system.”
Mounting the Solar Array
A strong foundation and secure attachments keep rooftop and ground systems producing for decades.
Roof-mounted systems rely on bolting flashings to rafters. Flashings prevent leaks and give a secure anchor for racking rails.
Installers use mid clamps and end clamps to lock panels and rails into one continuous array. Proper hardware helps panels resist wind and weather.
Ground-mounted foundations
Ground mounts are a great option when your roof lacks space or strength. For these systems, holes must be at least 18 inches deep and filled with concrete footings.
Electrical wiring on ground mounts must be buried to meet the National Electrical Code. This protects the cables and keeps the system safe.
- Choose mounting hardware recommended by professional companies for local wind loads.
- Position arrays for maximum sunlight and easy access for maintenance.
- Prioritize safety when working at height or with heavy machinery for foundations.
“Proper mounting is essential for longevity; it keeps panels stable and positioned for optimal sunlight exposure.”
Wiring and Inverter Integration
A clear wiring plan ties your rooftop generators, inverter, and home circuits into a safe, code-compliant system. This stage turns produced energy into usable power and connects your array to the grid and backup equipment.
String inverters should be mounted in an accessible, cool spot on the side of the house or in a shaded garage wall. Proper placement prevents overheating and boosts long-term performance.
Connecting the Battery Backup
The inverter is the heart of the system; it converts panel output into electricity for your home. You’ll wire the inverter to the breaker box so production flows to circuits and, when allowed, back to the grid.
- Follow manufacturer instructions for AC and DC wiring when adding a battery to ensure the unit is grounded.
- Install current transformers to monitor energy flow and optimize system efficiency.
- Route all cables through junction boxes and use disconnect switches to meet utility and safety standards.
“Integrating a battery lets you store excess energy and keep power during cloudy days or outages.”
| Item | Role | Best practice |
|---|---|---|
| Inverter | Converts DC to AC | Mount in cool, accessible location |
| Battery | Stores excess energy | Follow AC/DC wiring diagrams; ground properly |
| Current transformer | Measures flow | Place on main feed for accurate monitoring |
Post-Installation Testing and Monitoring
Post-work inspections and monitoring setup turn completed hardware into a reliable source of home energy.
Schedule a final building inspection with your local department to confirm code compliance. Most projects — about 90% — do not need a separate onsite utility inspection because the utility accepts the local inspection record.
After you pass inspection, request permission to operate from your utility so your system can go live. This step unlocks grid interconnection and legal power export.
Set up a monitoring system right away. A good app shows real-time energy production and flags drops in output that may signal a wiring or equipment fault.
- Check the monitoring app daily at first to verify expected electricity production.
- Keep a simple maintenance routine: clear debris and wash panels after long dust events.
- If you have a battery backup, test charging and discharge cycles to match your energy needs.
“Regular monitoring turns small issues into easy fixes and protects long-term savings.”
Use the checklist in this guide to confirm each part is tested: racking, wiring, inverter, batteries, and meter interlock. By tracking performance, you can spot factors that reduce output and keep your solar panels profitable for years.
Conclusion
Choosing to produce electricity at home marks a clear shift toward independence and long-term savings. This guide covered planning, safety, wiring, and final testing so you can move forward with confidence.
Switching to solar energy reduces utility costs and lowers your carbon footprint. Regular checks and simple maintenance will keep modules and batteries working well for years.
Whether you are installing solar yourself or hiring pros, follow the outlined process, document permits, and use monitoring tools to track performance. Take the first step: assess your home’s potential and begin the journey to cleaner, more reliable power.