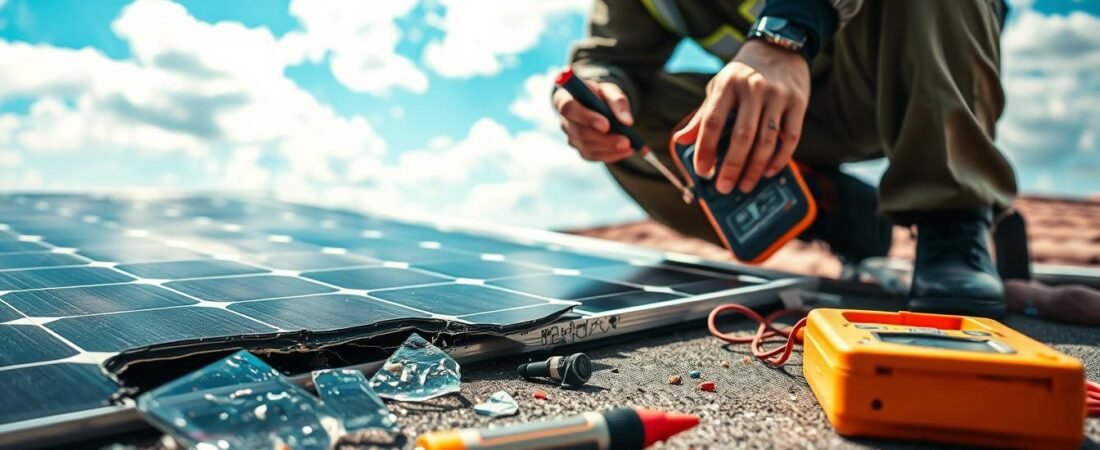
SolarMedix.com has served New York and New Jersey for over 19 years and completed nearly 6,000 projects. This short guide helps homeowners identify a damaged solar panel and decide when to act.
This article explains common signs of damage, like visible cracks in the glass, drops in system performance, and wiring issues. It also covers simple maintenance steps that can extend your panels’ life and when a full replacement makes sense.
If you spot issues, early steps can prevent higher costs and longer downtime. For a practical DIY checklist and safety notes, see this quick guide on DIY panel troubleshooting.
In the sections ahead we draw on decades of experience to outline inspection tips, expected costs, and the time needed to restore your energy system to good working order.
Understanding Solar Panel Damage
Damage to your solar setup can be limited to the outer glass or hidden inside the cells. Knowing the difference helps you decide on maintenance, costs, and time needed to restore performance.
Glass versus Cell Damage
Surface marks, chips, or visible cracks on the panel glass often protect the internal solar cells thanks to the strong top layer. Yet internal micro-cracks in the cells are a common cause of gradual loss in energy production, according to NREL studies.
Moisture penetration in New York and New Jersey worsens cell faults and can lead to short circuits. If electricity output drops without clear surface damage, the problem is likely internal and may need professional attention.
The Role of Tempered Glass
Tempered glass is engineered to be over four times stronger than plate glass. Panels are tested to resist hail at speeds up to 50 mph and other extreme weather. Still, thermal cycling—daily expansion and contraction—can cause micro-cracks in the glass layer over time.
Quick checklist:
- Inspect the surface for visible cracks glass or chips.
- Compare output numbers to identify internal cell issues.
- Factor in local weather conditions like hail and moisture when estimating costs and maintenance needs.
Common Causes of Solar Panel Cracks
Micro‑cracks often start small and worsen with time. Thermal cycling in New York and New Jersey makes tiny faults grow into visible fractures.
High-speed winds and storm surges can twist roof‑mounted units. That dynamic pressure loads frames and may stress the panel glass and underlying cells.
Installing panels on uneven roofs creates constant mechanical stress. Over months, that stress promotes micro‑cracks and steady loss of performance.
- Recurring hail strikes weaken the surface and chip glass.
- Poor handling during transport or setup can cause instant cracks.
- Thermal cycling accelerates growth of hidden faults into full fractures.
“Simple, regular checks catch problems early and keep costs down.”
Regular maintenance and prompt inspection can spot early issues before they harm the whole system. For a professional inspection, contact a trusted installer to evaluate damage and costs.
How to Identify a Broken Solar Panel
A sudden dip in generation usually signals a problem before you see one. Regular checks of your monitoring system let you spot issues quickly and act while the fault is small.
Monitoring System Alerts
Check production data daily or weekly. Monitoring software compares actual energy production to expected output and sends alerts when performance falls short.
Airis Energy watches projects and dispatches a team when electricity output drops. That kind of proactive monitoring saves time and often limits further damage.
Visual and Inverter Signs
Look for visible cracks in the glass surface and flashing lights on the inverter. Visible damage often comes from impacts like falling tree branches and needs prompt assessment.
- Track energy production numbers to know system health.
- Major drops in electricity output or warning lights mean the system needs attention.
- Monitoring alerts catch underperformance in real time and can save money over time.
Effective Methods for Broken Solar Panel Repair
Small fractures in the glass layer often need only targeted sealing to prevent worse problems. These fixes can protect cells and keep system performance stable while you decide on longer-term action.
Using Laminate Film
Laminate film is a clear, waterproof wrap that holds glass pieces in place and blocks moisture from entering the cells. To apply it correctly you need a heat gun and a squeegee.
Work slowly and remove bubbles for a tight seal. This method works best on hairline cracks and surface chips.
Applying Polyurethane Sealant
Polyurethane sealant is a low-cost, transparent adhesive that flows into cracks and bonds the glass surface. It is easy to use and dries clear.
Note: Both approaches help against weather and hail, but they will not restore internal electrical damage if the cells are ruined. If glass shards are flaking, consider full replacement.
- Laminate film prevents moisture and holds fragments together.
- Polyurethane fuses the surface and seals gaps cheaply.
- Assess damage first—severe cracks can still reduce output and raise costs.
“Quick sealing can extend service time and reduce immediate costs.”
When to Replace Your Solar System Components
If production losses persist after quick fixes, full component replacement often saves time and money.
When the extent of damage to a panel is severe, replacing the entire unit is usually more cost-effective than trying to fix the glass or cells piece by piece.
Insurance may cover replacement if extreme weather or vandalism caused the damage. Check your policy and document the issue before calling a contractor.
In cases of limited micro‑cracking, a technician can replace individual solar cells to extend life and preserve energy production and efficiency.
If cracks scatter sunlight and cut electricity output, a full replacement better restores long‑term performance and avoids recurring costs.
- Assess how the surface and cells affect production before deciding.
- Factor insurance, expected life, and total costs into your choice.
- Professional technicians can advise on the right timing for replacement to keep your system reliable.
“Replacing the entire unit often preserves system efficiency and reduces long-term costs.”
Proactive Maintenance to Prevent Future Damage
Keeping a small maintenance routine protects your investment and keeps energy production steady. A few roof-side tasks prevent most common issues and extend the life of your solar panels.
Periodically spray your panels with a hose to remove dirt and pollen from the surface. Trim tree branches so falling limbs and hail are less likely to cause damage.
Clear away bird or squirrel nests early. Wildlife can lift seals, trap moisture, and trigger micro-cracks that worsen over time.
Schedule professional inspections for micro-cracks and frame checks. A trained technician can spot hidden faults before they force a costly replacement.
Use a robust monitoring system to track daily production. Quick alerts let you act fast and often avoid an on-site repair visit.
- Trim trees and clear nests to prevent physical damage to panels.
- Spray panels occasionally to keep the surface clean and maximize production.
- Book inspections for micro-cracks to stop small issues from becoming major damage.
“A simple maintenance plan pays off by lowering downtime and cutting long-term costs.”
Tip: Consider a 20-year maintenance agreement like Airis Energy offers to combine preventative care with fast corrective action.
Conclusion
Conclusion
Knowing how to read production data and inspect the surface helps you limit downtime and expense.
This article summarized steps to identify a damaged solar panel and act before small issues raise costs.
When you know solar panel health indicators, you can choose a simple sealant or a full replacement and control long‑term cost.
Act promptly—quick action often reduces the scope of work and overall costs. If you are unsure about surface integrity or electrical safety, always consult a professional.
Tip: Track output, document damage, and get an expert estimate to make the best decision for your system.